
In this exercise, we’ll create a new user in the SAP HANA XSA cockpit and assign the SAP HANA XSA developer role to the new user.
We’ll show the steps to create a new user, but you can import existing SAP HANA users into SAP HANA XSA as well.
Follow these steps to create a new user in the SAP HANA XSA environment using the SAP HANA XSA Administration tool:
Create a User
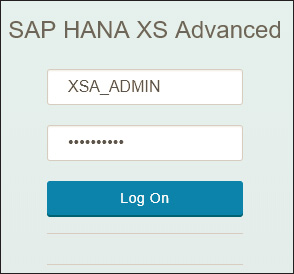
1. Launch the SAP HANA XSA environment with this URL: https://<host>:39030/.
Note: This URL is for the SAP HANA, express edition. Your port number might be different depending on how the SAP HANA landscape is configured.
2. Click XSA-COCKPIT to launch the SAP HANA XSA Administration tool.
3. Enter the “XSA_ADMIN” login credentials, then click Log On.
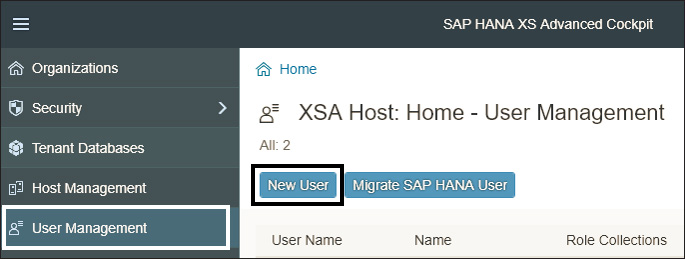
4. After you’re logged on, your screen should look like the one below. Now it’s time to create a new user and assign developer roles. Click User Management, then click New User.
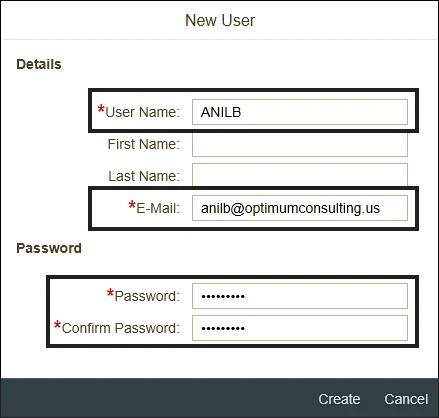
5. In the next screen, you need to fill in the mandatory details about the user (User Name, Email, and Password; see below), then click Create.
Grant User Access
You’ve successfully created a new user. Next, you need to grant access to users so that they can access the SAP HANA XSA tools and features. Follow these steps:
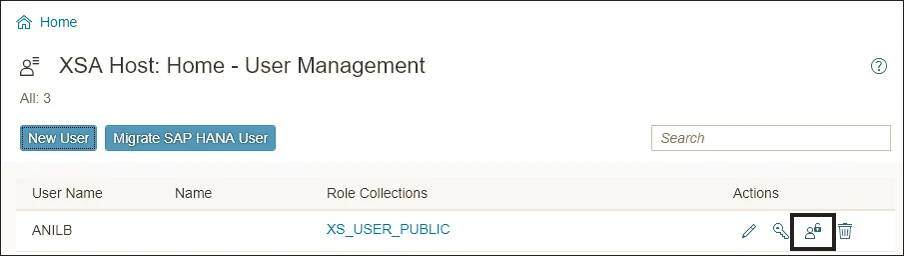
1. After creating a user in the previous steps, you should see the screen shown below. Assign roles by clicking under the Actions column.
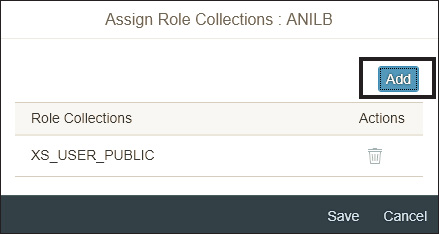
2. Click the Add button in the Assign Role Collections window.
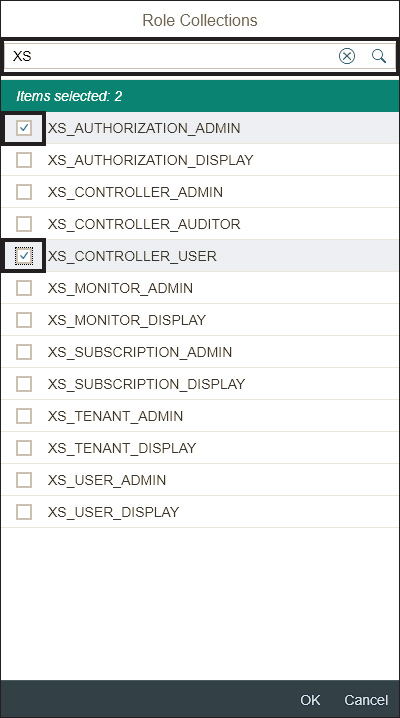
Search for roles starting with XS, then select XS_CONTROLLER_USER and XS_AUTHORIZATION_ADMIN (see next figure). The XS_CONTROLLER_USER role will let users read and write within the assigned spaces or organizations, and the XS_AUTHORIZATION_ADMIN role will let users access the SAP HANA XSA Administration tools.
3. Repeat the previous step, but search for and select the DEVX_DEVELOPER role.
4. Click OK to assign the roles to the user.
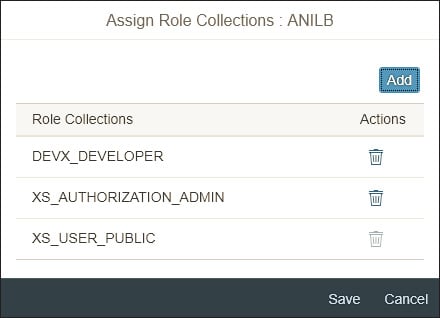
5. After you’ve selected roles, your screen should look like this:
6. Click Save.
You’ve now successfully created a new user and assigned authorizations to the new user to build applications in the SAP HANA XSA environment.
Editor’s note: This content was originally posted on the SAP PRESS Blog and has been adapted from a section of the book Data Modeling for SAP HANA 2.0 by Anil Bavaraju. Used with permission of SAP PRESS. All rights reserved.